FLAT TIRE-PHOBIA? DON’T SWEAT IT
FLAT TIRE-PHOBIA? DON’T SWEAT IT
HERE’S ALL YOU NEED TO KNOW….
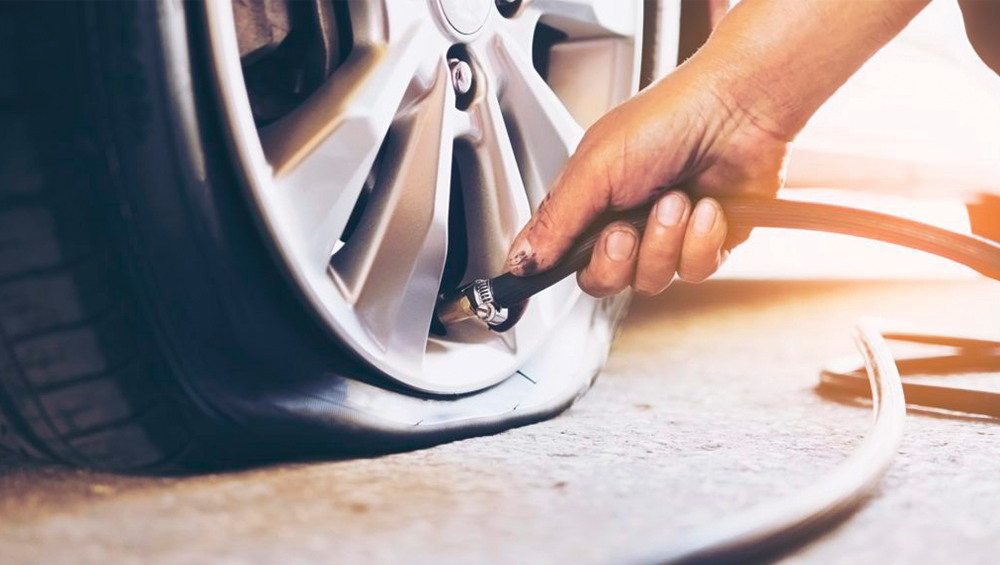
It’s a skill that is essential for drivers of all ages — changing a flat tire! And it is also a situation most drivers will find themselves in at one time or another. Having the knowledge of what to do is indispensable, especially when you are on the open road alone or need to get somewhere fast and your tire goes flat. It is also a crucial skill to have when time is of the essence as often roadside assistance does not occur quickly. A cell phone is not the same as the skills you need to equip yourselves with to remedy the situation in a timely fashion. The good news is that it is not that difficult, especially if you have the items needed close at hand.
Read more…
Tools of the trade
When it comes to changing a flat tire, there are a number of items that you must make sure are in your car and close at hand at all times. Those include a Jack, Lug Wrench, Fully Inflated Spare Tire and a vehicle’s owner’s manual. Take a moment to check your car for these items, as many should have come with the purchase. If they did not, then it is incumbent on all drivers to purchase them. Other things that are needed, that did not come with your vehicle, include a flashlight with working batteries in the event your flat occurs at night; a rain poncho to keep you covered in inclement weather, a small cut of 2x6 inch wood to secure the jack; gloves and wheel wedges.
Location, location, location
While it is not always simple to find the perfect spot to change a flat, some locations are more ideal than others to get the job done quickly. Ideally, drivers should aim for a level, hard surface with separation between the road and the car. While you need not drive far to find this or wear down your trim doing so, be aware of the surfaces around you. Straight stretches of road are preferred, and drivers should avoid changing their tire on narrow spots of road with oncoming traffic. An open parking lot is a perfect spot, although that is not always close by. Remember that while searching for the location to make the repair, put your flashers on and drive slowly. Once you find the spot, set your parking brake to minimize the possibility of your vehicle rolling.
Getting started
When your car is in a safe location and you are ready to begin, make sure all your tools are in place. Then begin by setting the wheel wedges in front or behind the tires to further ensure the vehicle does not roll while you are fixing the flat. If the change is needed in the rear, place the wedges in front of the front tires, and if the flat is in the front, place them behind the rear tires. If you find yourself without wheel wedges, bricks or large stones will do the job. Next, if your car has a hubcap or wheel cover, it will need removed. In fact, it is simpler to remove the hubcap before lifting the vehicle with the jack. In removing the hubcap, use the flat end of your lug wrench. This will work easily for most vehicles, while some hubcaps may need a different tool. Your owner’s manual will spell this all out.
Next steps
To move the process along, you must loosen the lug nuts, which is done using the wrench and turning them counterclockwise until you feel a break in the resistance. Now you are ready to “jack it up” in preparation for changing out the tire. The placement of the jack is risky so aim for beneath the vehicle frame alongside the tire that is flat. Many vehicles have this area specified with frames of molded plastic on the bottom with a cleared area of exposed metal. Specific instructions of jack placement to avoid damage to the vehicle is found in your owner’s manual. When you are ready, and with the jack positioned properly, raise the vehicle until the flat tire is roughly six inches above the ground. Never put any body part under the vehicle during this time!
Almost there — remove the tire!
Ideally, your tire will just fall right off when the already loosened lug nuts are spun. Grip the tire by the threads while gently pulling it toward you until it is completely free. Remember to set it on its side so it does not roll away! Next, mount the spare tire on the lug bolts, lining up the rim just right. The spare can be found under the loading floor in most cars and SUVs. Push gently until you see the lug nuts through the rim. At this point, with the spare securely attached, you are ready to begin lowering the vehicle and tightening the lug nuts again, which is a very important step. Turn clockwise as much as you possibly can and push down on the lug wrench with your full body weight. Take the jack out from under your car, and you are just about ready to clean up, drive home and realize a task well done!
For your commute to your destination following the tire change, make sure that you are not traveling at high speeds. Your car will handle and brake differently with the spare and is only designed to travel a low number of miles. The goal is to get home safely and get your new tire — or repair your old one — as soon as possible! Your tire change should have taken roughly 15-30 minutes! To keep your tires from flats, remember to always make sure they are properly inflated and rotated. This will help extend their life and ensure they last as long as possible! Flat tires are inevitable, but these helpful tips will make your Flat Tire-Phobia a thing of the past!

